今回の記事はSwiftのCollectionView Cellの行間の幅やCellの高さを調整するためのSwfitコードをご紹介します。
最近のアプリでは、写真をアプリないに登場させるのはよくあることなので、是非マスターして使えるようになりましょう。
初心者向けに初めから実装していきます。
CollectionViewをStoryboardに搭載して紐付けを行う設定
まずはXcodeにプロジェクトを用意してください。
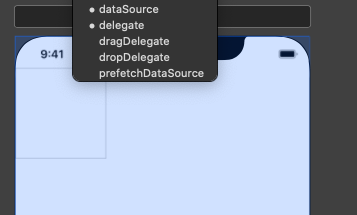
次に必要な設定はdelegateとdatasourceを設定することです。
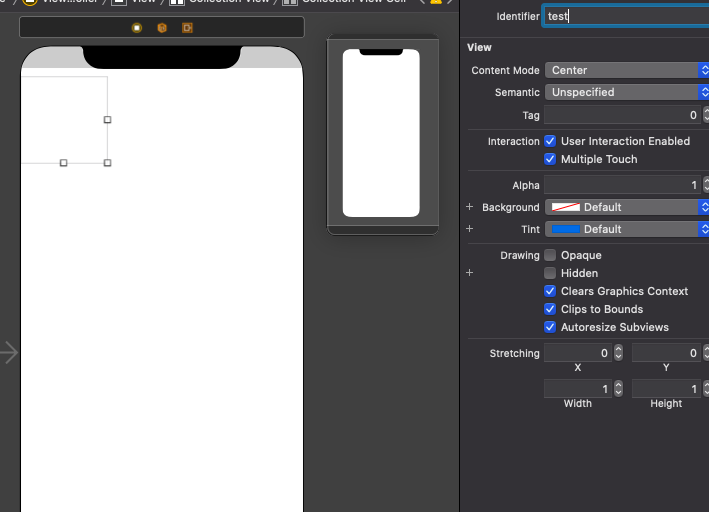
次にCellのidentiferを設定します。
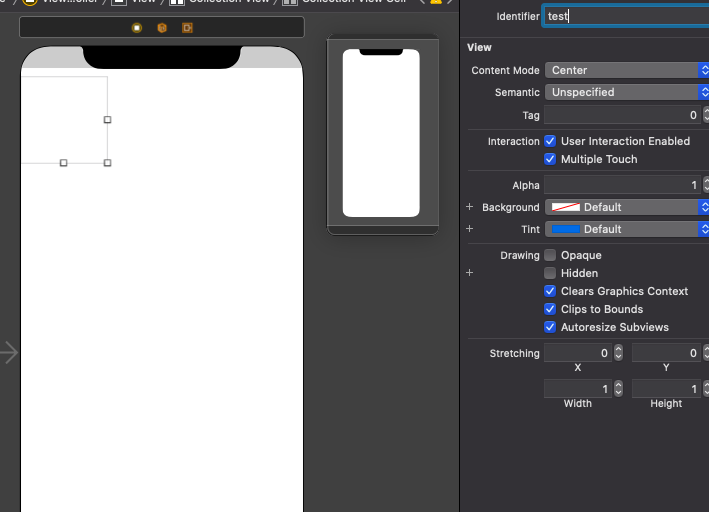
Cellをクリックした後右側のツールバーから設定できます。
この設定が終わればXcode側で行うことは特にありません。
Swiftコードに移ります。
CollectionView関連のSwiftコード追加
まずはクラスを追加します。
自身のViewControllerに二つのクラスを追加します。「UICollectionViewDelegate」「UICollectionViewDataSource」
import UIKit

class ViewController: UIViewController, UICollectionViewDelegate, UICollectionViewDataSource  {

       //(省略)
}
こちらを追加するとエラになりますがクラスに必須の関数を用意できていないというものでFixを押すと解消されます。
import UIKit

class ViewController: UIViewController, UICollectionViewDelegate, UICollectionViewDataSource  {


    func collectionView(_ collectionView: UICollectionView, cellForItemAt indexPath: IndexPath) -> UICollectionViewCell {
        let cell = collectionView.dequeueReusableCell(withReuseIdentifier: "Cell", for: indexPath as IndexPath)
        cell.backgroundcolor = UIColor.yellow
        return cell
    }
    func collectionView(_ collectionView: UICollectionView,
                        numberOfItemsInSection section: Int) -> Int {
        return 10
    }
    //(以下省略)
}
この二つの関数では上のものがCellの情報を返しており、今回は黄色にしております。
下の関数はCellの数を返しております。
上記の二つのクラスを追加した場合は最低限でもこの二つを追加する必要があります。
これで最低限のCollectionViewが作成できていると思いますので確認してみてください。
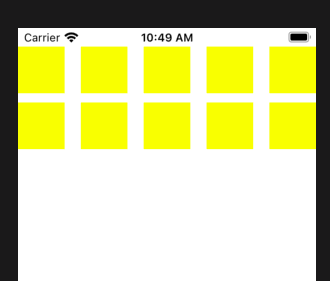
CollectionViewCellのサイズ関連の操作を行う
確認ができればいよいよメインの行間などの幅を見せるところです。
まずはStoryboardにCollectionViewをひもずけます。
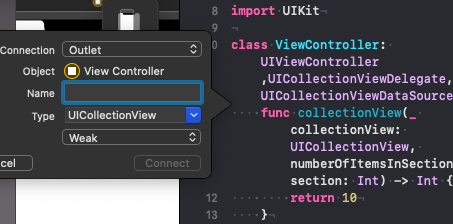
ではまずはCell間の横の繋がりを0にしてみます。
縦の幅を0にする
import UIKit

class ViewController: UIViewController, UICollectionViewDelegate, UICollectionViewDataSource  {

    @IBOutlet weak var test_collectionview: UICollectionView!

    func collectionView(_ collectionView: UICollectionView, cellForItemAt indexPath: IndexPath) -> UICollectionViewCell {
        let cell = collectionView.dequeueReusableCell(withReuseIdentifier: "Cell", for: indexPath as IndexPath)
        cell.backgroundcolor = UIColor.yellow
        return cell
    }
    func collectionView(_ collectionView: UICollectionView,
                        numberOfItemsInSection section: Int) -> Int {
        return 10
    }
    override func viewDidLoad() {
        super.viewDidLoad()

        test_collectionview.dataSource = self
        let layout = UICollectionViewFlowLayout()
        //
        layout.minimumLineSpacing = 0
        //
        test_collectionview.collectionViewLayout = layout

    }
}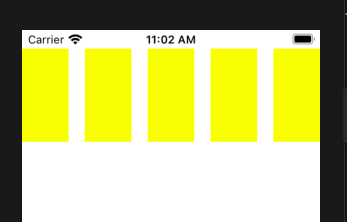
0になっているようです。OKです。
ではこの状態で次はよこの幅も0にしてみましょう。
import UIKit

class ViewController: UIViewController, UICollectionViewDelegate, UICollectionViewDataSource  {

    @IBOutlet weak var test_collectionview: UICollectionView!

    func collectionView(_ collectionView: UICollectionView, cellForItemAt indexPath: IndexPath) -> UICollectionViewCell {
        let cell = collectionView.dequeueReusableCell(withReuseIdentifier: "Cell", for: indexPath as IndexPath)
        cell.backgroundcolor = UIColor.yellow
        return cell
    }
    func collectionView(_ collectionView: UICollectionView,
                        numberOfItemsInSection section: Int) -> Int {
        return 10
    }
    override func viewDidLoad() {
        super.viewDidLoad()

        test_collectionview.dataSource = self
        // レイアウト設定
        let layout = UICollectionViewFlowLayout()
        //
     layout.minimumLineSpacing = 0
        layout.minimumInteritemSpacing = 0
        //
        test_collectionview.collectionViewLayout = layout

    }
}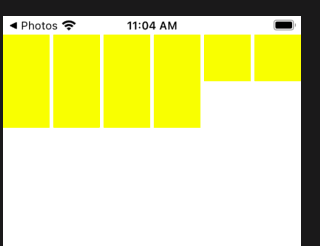
なんだこの隙間は笑
わずかな隙間が空いていますが概ねOKでしょう。
この隙間の埋め方を知っている方がいれば教えていただきたいです笑。
ただ、写真表示の最美桜全て0にせず少しの隙間を持たせたかったのでまあこれでいいかと思います私は。。


コメント